There’s been plenty of advice given on cinematic shooting with your GoPro camera. People telling you the best settings to use, shoot in flat mode so it’s easier to color grade in post, make sure that your shutter speed is double your frame rate and to shoot at 24FPS.
While this is a good starting point, there are some valuable points missing from this advice. For instance, manually settings your shutter speed to double your frame rate will indeed give you the proper amount of motion blur in a shot… but if you’re shooting on a sunny bright day, this can actually overexpose your footage and you end up with unusable shots. I mean, has this ever happened to you? So, in this post we’re going to look at a different aspect of cinematic shooting. We’re going to look at some of the accessories that you should be using when it comes to shooting with your GoPro camera.
There are many different videos and articles out there telling you what settings to adjust on your camera and promising “Cinematic” footage as a result. However, you’ll very quickly find out that if you use those settings, your footage is anything but cinematic looking. For instance, maybe you’ve been told to manually set your shutter speed to double your frame rate for a natural looking motion blur, however as soon as you do that, you suddenly find yourself with over exposed washed-out footage.

Sure, you could increase your frame rate and shoot at 60FPS or 120FPS and this will darken your image… but isn’t cinematic footage shot at 24FPS? So, what am I supposed to do?
Well, this is where ND filters come in. ND filters are basically sunglasses for your camera. It’s that simple. So if you’re shooting on a sunny day and you’ve manually set your shutter speed to 1/48 and your frame rate to 24FPS, your image stands a very good chance of being blown out. In which case, you put an ND filter on your camera to reduce the amount of light hitting that sensor. This balances your image and now you have the proper light balance for your shot.

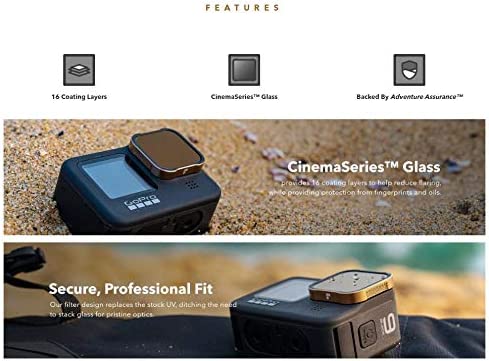
While there are various ND filters on the market out there, I recommend using the Polar Pro filters. They are specifically designed for the GoPro camera, they are manufactured using high quality glass and their quality is second to none. Cheaper options could be using cheaper materials and the last thing you want is some bargain basement filters ruining your shot. You want a premium glass filter, not a plastic filter that’s going to add distortion, easily scratch and just make your image look like a much lower quality picture.
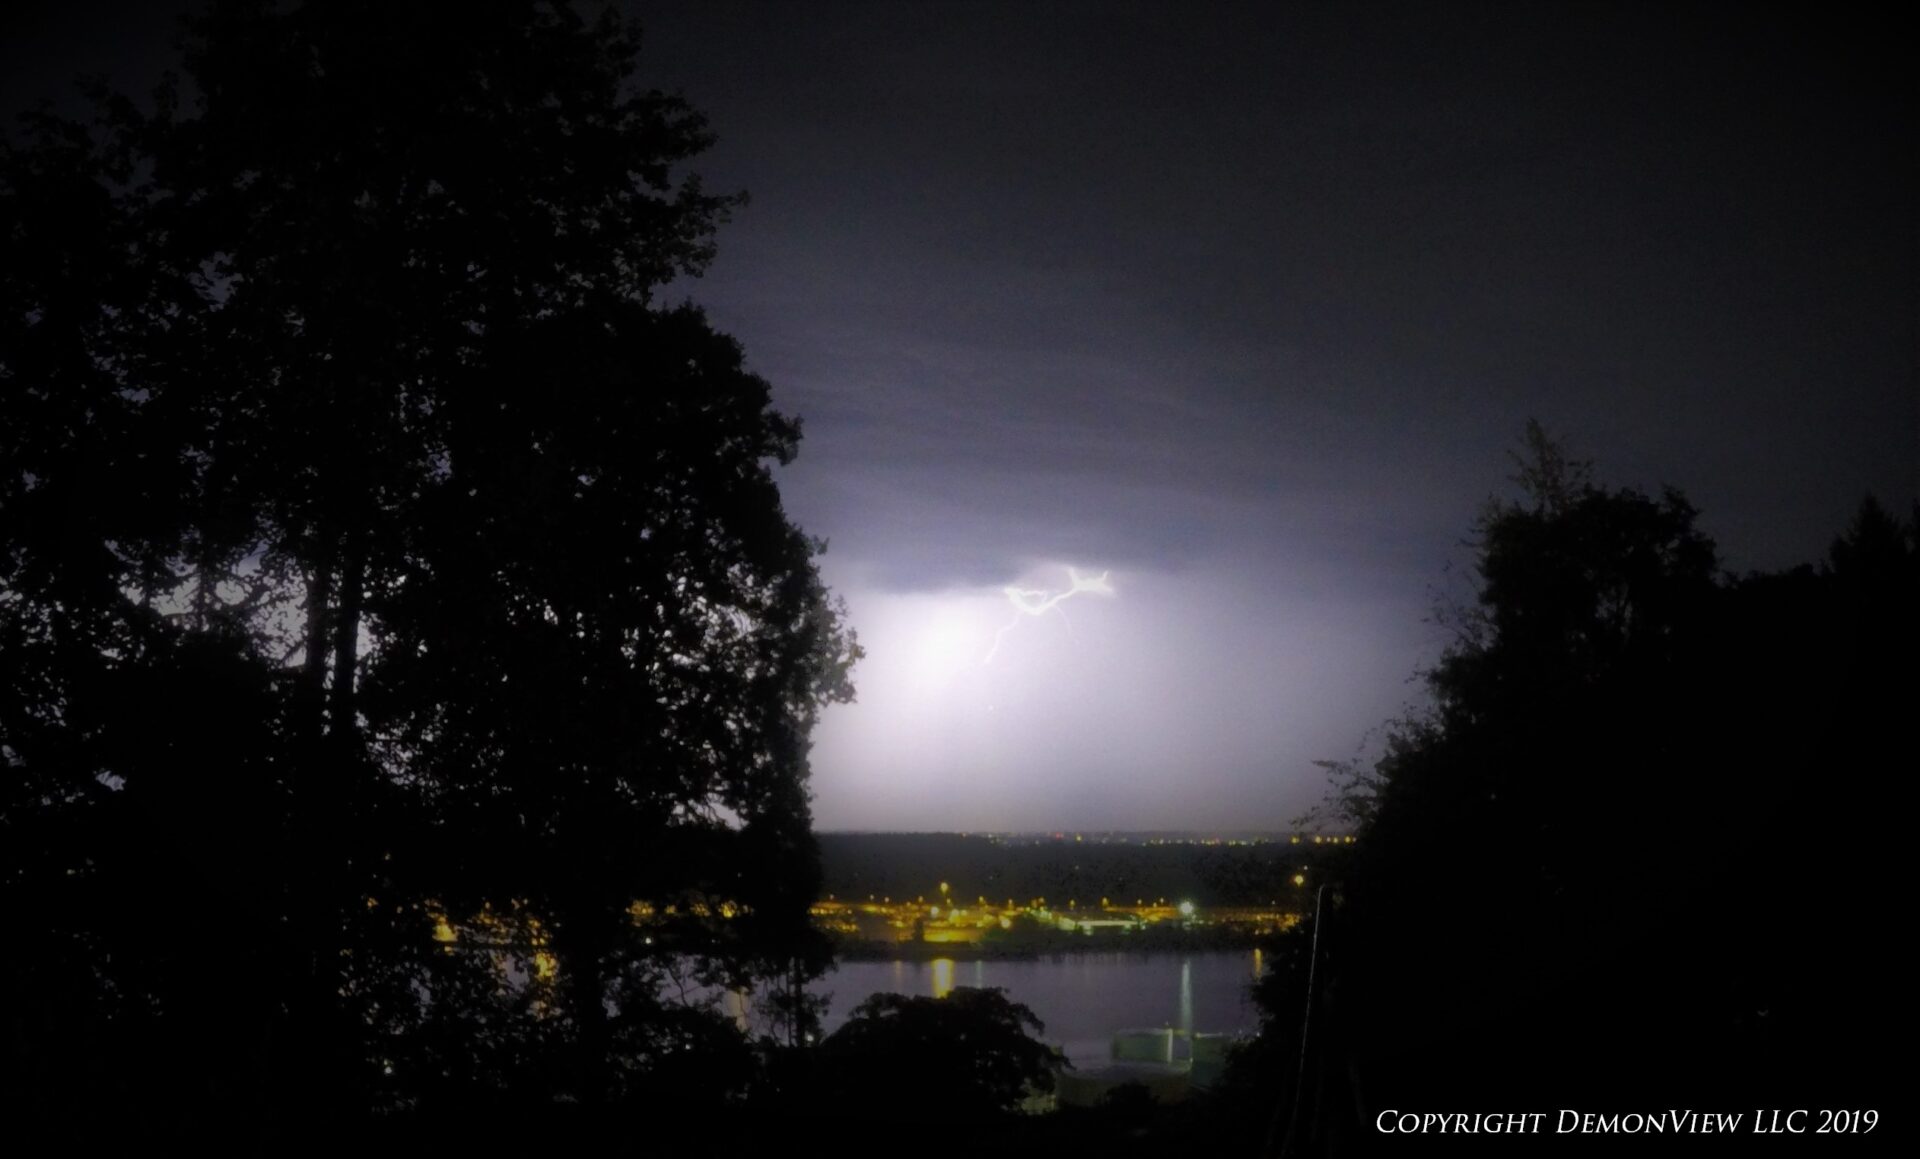
Then there’s night shooting. While the GoPro can produce some great night shots, it’s not really a night camera. It’s got a small sensor and it really is suited to bright action-oriented shots. However, this doesn’t mean you can’t use it at night, it just means that you have to set it up in specific ways. For one, I never use Hyper-smooth at night or in low light conditions. It just doesn’t work in low light conditions as the low light means your camera is using a lower shutter speed which ads blur. Now your GoPro is trying to stabilize a blurry image and the results look less than ideal. Instead, you’ll want to disable hyper-smooth and use a Gimbal instead. Most gimbals also allow you to control your camera directly from the gimbal itself so you don’t have to touch the camera at all.
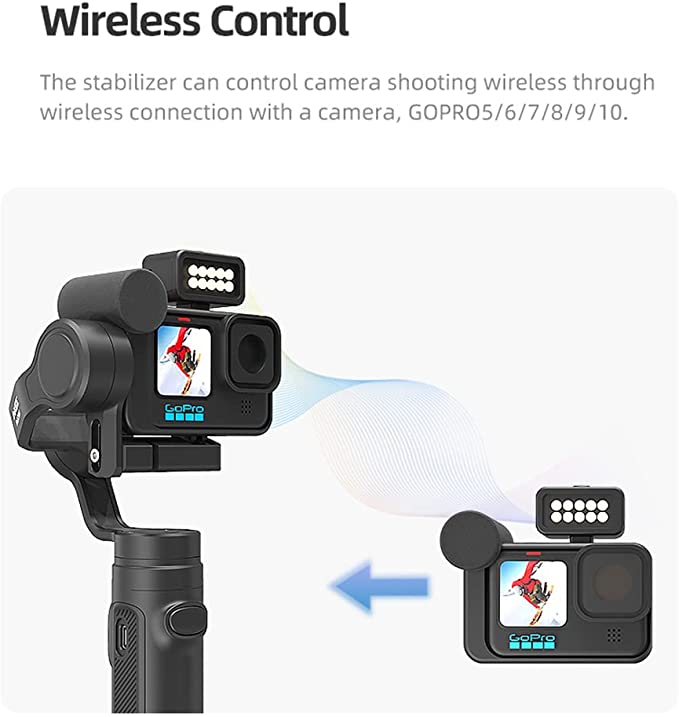
The Inkee Falcon Plus is actually quite a good gimbal to use as you can actually fit this on the camera even when the camera is using it’s media mod. So if you’re going to shoot in low light conditions or at night, you really do need to invest in a good quality gimbal.
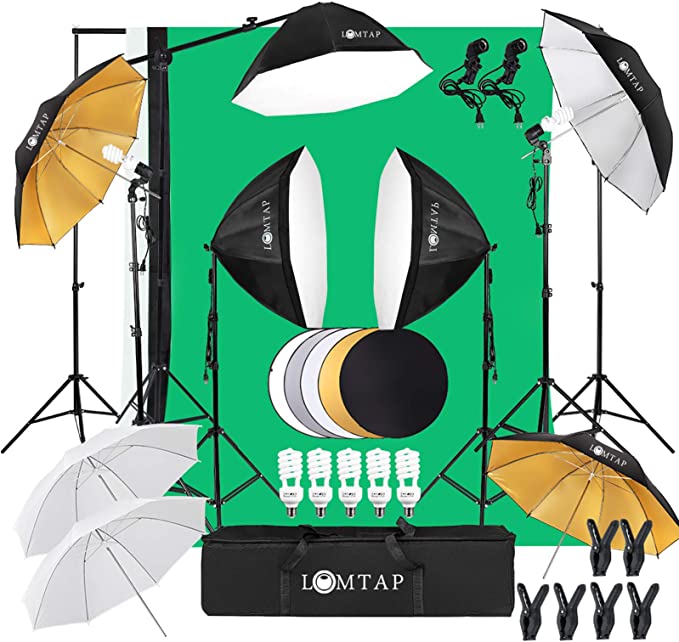
Another good option to have on for low light shooting is external lights. Look at any “Hollywood” production when they shoot at night. You’ll notice that they have lots of lighting units. Even in supposedly dark shots, there are not only lights out of frame, but lights hidden in the shot also. So, for low light shooting, you’re going to want to use additional light sources. Although these won’t have much effect in distance or landscape shots, when will make a lot of difference on close up shots or vlogging shots. There are many different options out there and some of the options are complete studio lighting kits which can be very helpful. This is the kit I personally use below and it’s a good all in one kit. Not only does this give me complete studio lighting, it also has a white, black or green screen backdrop as well as collapsible light reflectors for outdoor shots.
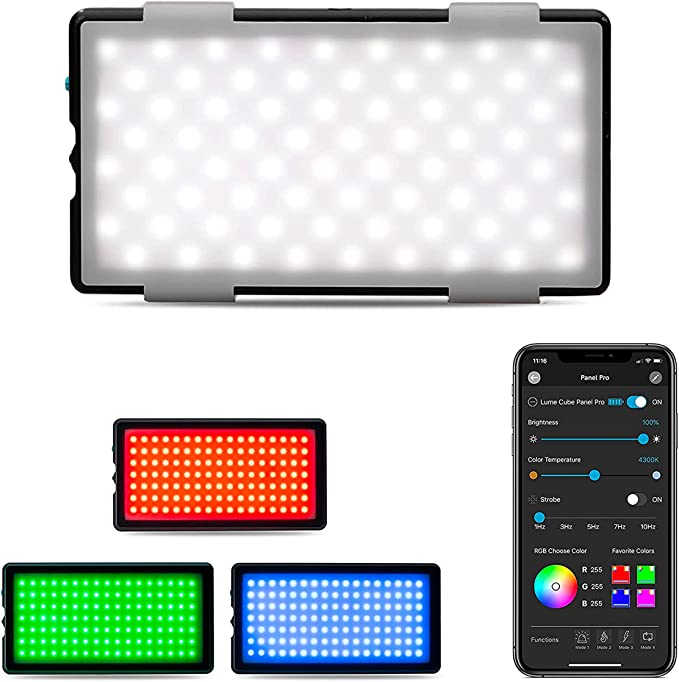
However, if you are out and about and want something more mobile and suited to handheld video, you want to avoid harsh lights and shadows when shooting. So therefore it’s best to get a large flat panel with a light diffuser on it. Even better, make it a panel with adjustable RGB colors. This can add an extra level of cinematic quality into your nighttime shooting.
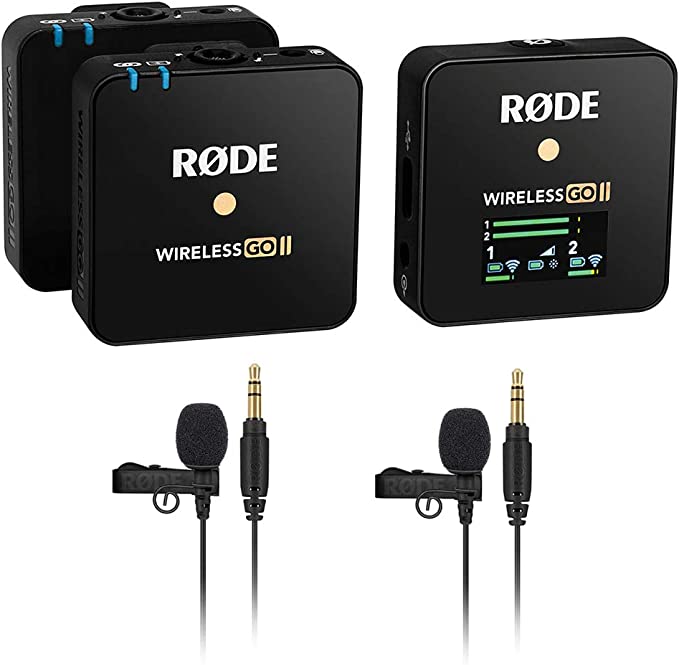
Finally cinematic sound. This one is a bit complex as there are many factors at play here. It all depends on if you want vocals in your footage or to have more ambient sounds in your footage instead. So the type of sounds you want to record will determine what type of microphones you should be investing in. For vocals, I’d recommend using something like the Rode Wireless Go 2. This is going to give you a whole lot of options regarding your sound recording, whether or not you want separate audio channels for 2 vocal tracks, a combined audio channel or even an independent backup of the audio recording. Rode also offer PC software for managing your microphone settings and recordings, they also have software to download if you want to use the same mics for doing your own podcast. So this is something you really should invest in.
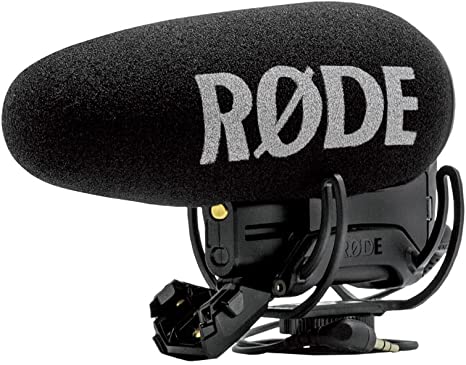
For a more ambient audio scenario, I’d recommend using a shotgun or boom mic on a shock mount attached to the camera. This is going to give you a more cinematic quality by allowing you to record sounds coming from where you have the camera pointed. This is really about the ambient sound coming from a specific direction and can work out quite well. The only downside is that if you are trying to talk during your production and the mic is facing away from you, then it’s not going to record your voice very well. So again, for vocals, use a good wireless mic that you can attach to your shirt, but for ambiance or audio coming from in front of the camera, use a shotgun or boom mic.
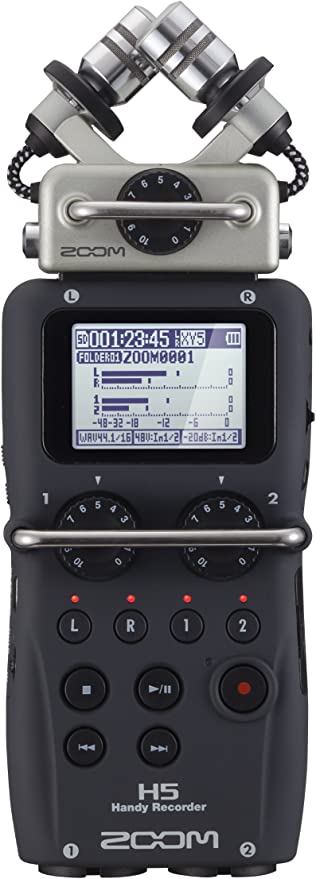
However, what you should be doing in addition to these audio techniques is recording a baseline audio track to capture the ambiance independently. This way you can edit the audio later in post-production and boost or lower background noises depending on what’s happening in a scene. So having a separate external audio recorder is also a good idea. This may simply mean going to your shooting area ahead of time, recording 5 minute of audio and then looping that audio into your finished recording as a background audio source. The advantage to doing this is that if gives you the most control over your audio in post-production. So, if you’re vlogging and recording a vocal track by a waterfall or by an ocean, you can lower or raise the background that audio so that it doesn’t drown out vocals you’re recording. Whereas if you’re trying to record everything at once using in camera audio, you just don’t have that level of control over the audio levels and if your background starts drowning out your vocal track, there’s not going to be much you can do about that in post-production while trying to retain a listenable quality. So, this is where a good quality digital audio recorder is really going to help you out.
So those are my recommendations for recording cinematic video using specific accessories. These should help you level up your cinematic shooting game and help you get on the path to awesome footage.
So if you liked this post and want to find out more GoPro tips and tricks, then go visit my YouTube channel @DemonViewLLC. There’s lots of helpful video’s on my channel including tips, tricks, reviews and cinematic movies. Make sure you click those like and subscribe buttons as they really do help out with channel views and ensure the continuation of quality content for you.
Until next time, Cheerio!