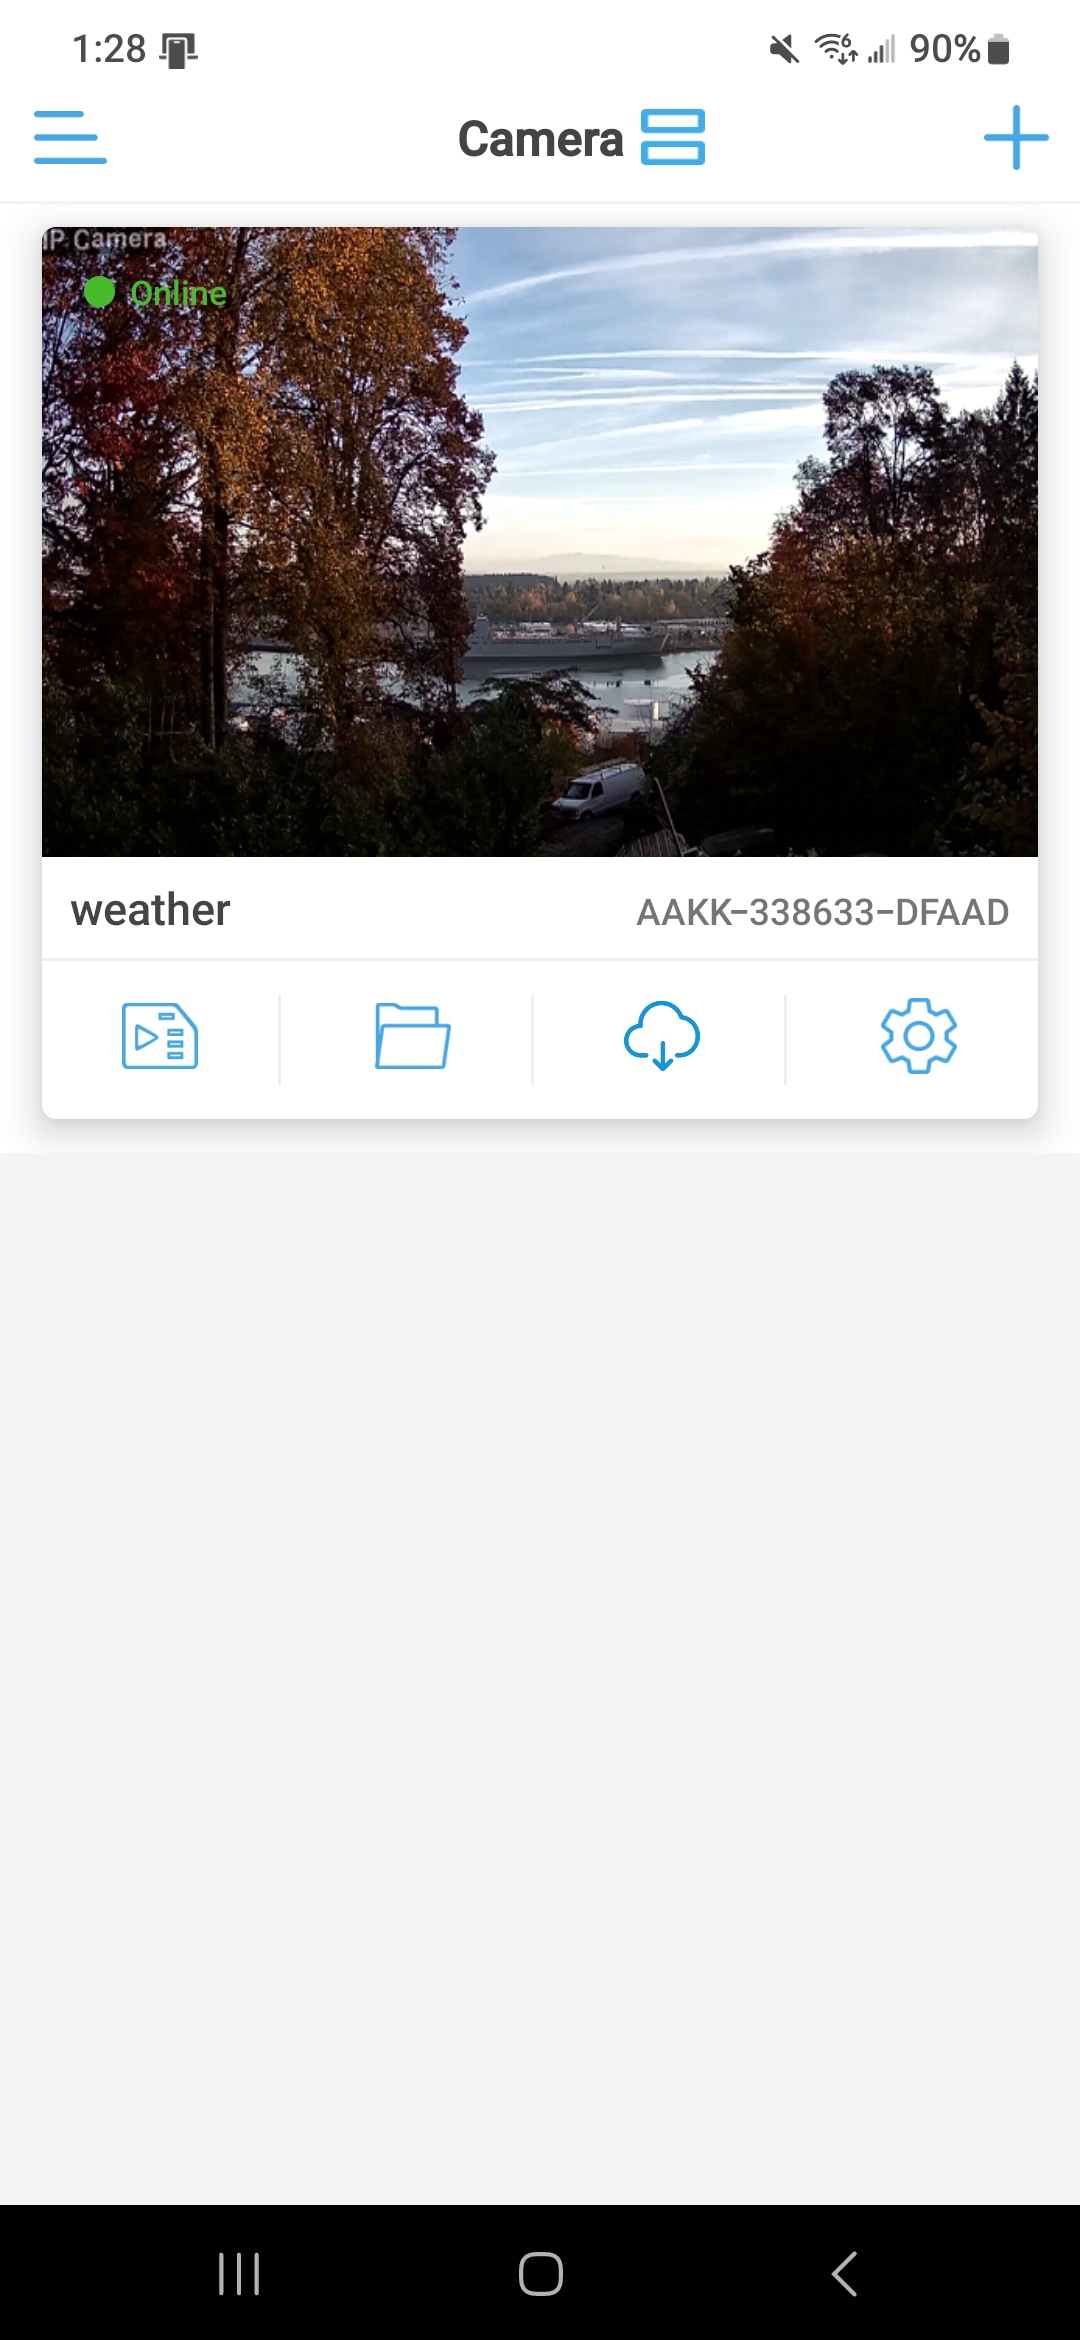
News Update!

With it being so close to 2023, I decided to share a bit of news early with my readers and YouTube followers. So, for those of you who have just bought a brand-new GoPro or received one for Christmas. I have now created a playlist on my YouTube channel specifically for you guys. We go all the way from Unboxing and Setup (Hero 10 and Hero 11) to troubleshooting common issues, reviewing some accessories and reviewing the GoPro Plus Subscription service. Make sure you check out that Playlist as it contains information that you NEED to know!

The essential GoPro Playlist for New Owners!

Also since tomorrow is the 1st of January 2023, I have a brand-new video premiering tomorrow. In this video I list the top 5 accessories that I use with my GoPro as well as the one accessory that I NEVER use (and it just sits on my shelf). You can check out that video when it premiers tomorrow!

If you’re interested in GoPro Accessories, you’re GOING to want to watch this video!

And finally, for those of you out there who may want me to review things, send me a greetings card or even a St Patrick’s day card, there’s now a mailbox for that!

DemonView LLC

3055 NW YEON AVE

PMB #12

PORTLAND

OR

97210

I’ll pretty much review anything that viewers send me, but please, no perishable goods, no liquids, nothing that makes a “ticking” sound… I reserve the right to give away review items, donate them to charity or bin them if they are unsuitable for the forementioned purposes. If you want the item back, then include a prepaid return envelope or label.

So, with that, I hope you all had a great holiday and are looking forward to what 2023 will bring!

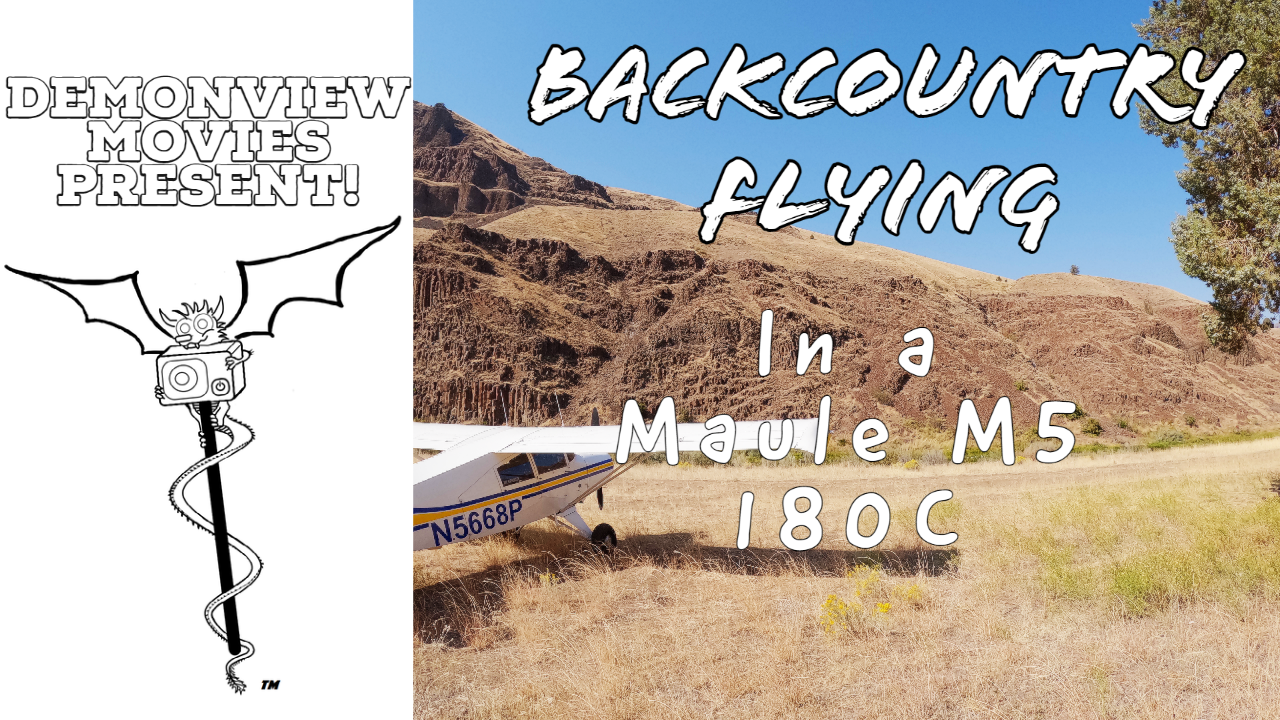
Back Country Flying in a Maule M5 180C

In this latest video, to escape the wildfire smoke of Portland, MerryMunks and I flew to Central Oregon to land at a pretty remote location. Enjoy the sights and the soundtrack for this amazing flight! This video shows the power of using YouTube Creators licensed music in your videos as it really does level up your video game. The track featured “New Cydonia” by the awesome artist Starcadian.

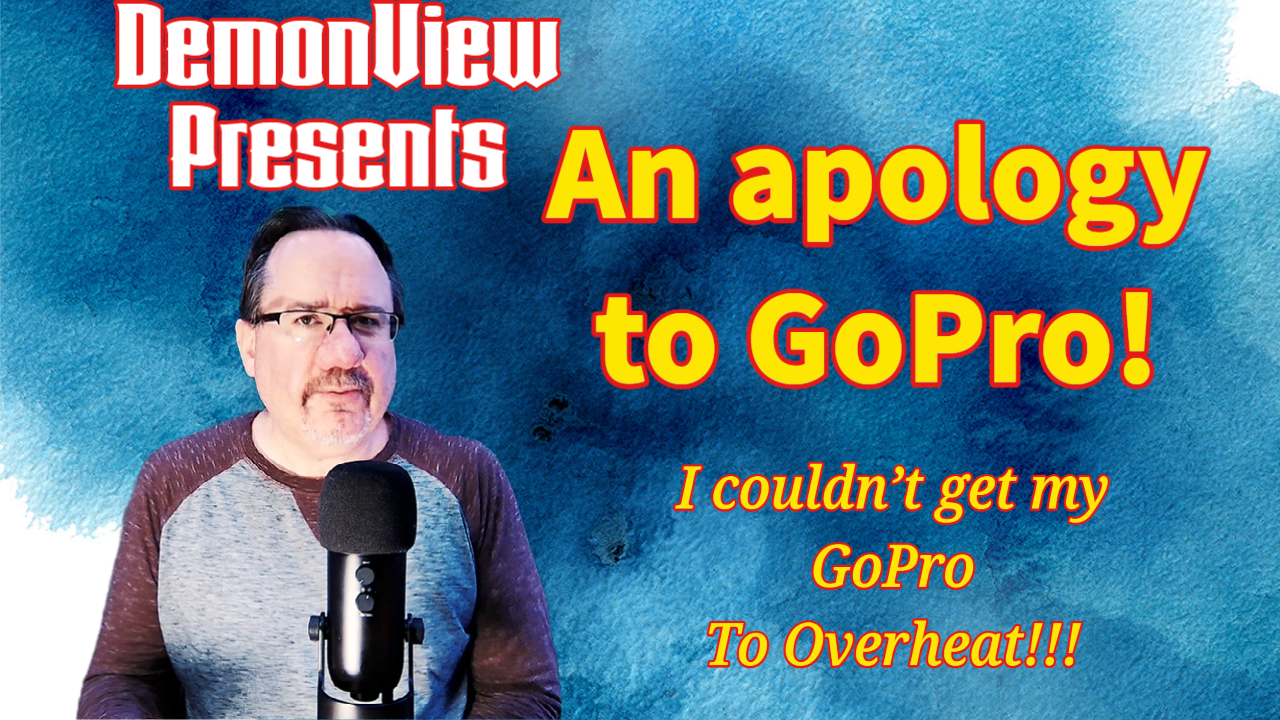
GoPro Hero 11 shoots 4K 30FPS for over 8 Hours??? I apologize to GoPro!

Over 8 hours in 4K 30FPS without overheating!

In this video, I was challenged by a viewer to see how long I could keep my GoPro recording in 4K 30FPS without overheating. I managed to keep recording for over 8 hours before my SD card filled up! How did I manage this? Find out by watching the video! Stay tuned for a bonus clip at the end of the video too for the ultimate GoPro accessory to prevent overheating in strong hot sunshine!

GoPro Cinematic Footage, what accessories should I be using?

There’s been plenty of advice given on cinematic shooting with your GoPro camera. People telling you the best settings to use, shoot in flat mode so it’s easier to color grade in post, make sure that your shutter speed is double your frame rate and to shoot at 24FPS.

While this is a good starting point, there are some valuable points missing from this advice. For instance, manually settings your shutter speed to double your frame rate will indeed give you the proper amount of motion blur in a shot… but if you’re shooting on a sunny bright day, this can actually overexpose your footage and you end up with unusable shots. I mean, has this ever happened to you? So, in this post we’re going to look at a different aspect of cinematic shooting. We’re going to look at some of the accessories that you should be using when it comes to shooting with your GoPro camera.

There are many different videos and articles out there telling you what settings to adjust on your camera and promising “Cinematic” footage as a result. However, you’ll very quickly find out that if you use those settings, your footage is anything but cinematic looking. For instance, maybe you’ve been told to manually set your shutter speed to double your frame rate for a natural looking motion blur, however as soon as you do that, you suddenly find yourself with over exposed washed-out footage.

24FPS 1/48 Shutter speed resulted in an overblown image.

Sure, you could increase your frame rate and shoot at 60FPS or 120FPS and this will darken your image… but isn’t cinematic footage shot at 24FPS? So, what am I supposed to do?

Well, this is where ND filters come in. ND filters are basically sunglasses for your camera. It’s that simple. So if you’re shooting on a sunny day and you’ve manually set your shutter speed to 1/48 and your frame rate to 24FPS, your image stands a very good chance of being blown out. In which case, you put an ND filter on your camera to reduce the amount of light hitting that sensor. This balances your image and now you have the proper light balance for your shot.

A correctly exposed shot using 24FPS 1/48 shutter speed and ND Filters.

While there are various ND filters on the market out there, I recommend using the Polar Pro filters. They are specifically designed for the GoPro camera, they are manufactured using high quality glass and their quality is second to none. Cheaper options could be using cheaper materials and the last thing you want is some bargain basement filters ruining your shot. You want a premium glass filter, not a plastic filter that’s going to add distortion, easily scratch and just make your image look like a much lower quality picture.

The very best ND filters for your camera.

Then there’s night shooting. While the GoPro can produce some great night shots, it’s not really a night camera. It’s got a small sensor and it really is suited to bright action-oriented shots. However, this doesn’t mean you can’t use it at night, it just means that you have to set it up in specific ways. For one, I never use Hyper-smooth at night or in low light conditions. It just doesn’t work in low light conditions as the low light means your camera is using a lower shutter speed which ads blur. Now your GoPro is trying to stabilize a blurry image and the results look less than ideal. Instead, you’ll want to disable hyper-smooth and use a Gimbal instead. Most gimbals also allow you to control your camera directly from the gimbal itself so you don’t have to touch the camera at all.

The Inkee Falcon Plus gives you great options as a Gimbal.

The Inkee Falcon Plus is actually quite a good gimbal to use as you can actually fit this on the camera even when the camera is using it’s media mod. So if you’re going to shoot in low light conditions or at night, you really do need to invest in a good quality gimbal.

Another good option to have on for low light shooting is external lights. Look at any “Hollywood” production when they shoot at night. You’ll notice that they have lots of lighting units. Even in supposedly dark shots, there are not only lights out of frame, but lights hidden in the shot also. So, for low light shooting, you’re going to want to use additional light sources. Although these won’t have much effect in distance or landscape shots, when will make a lot of difference on close up shots or vlogging shots. There are many different options out there and some of the options are complete studio lighting kits which can be very helpful. This is the kit I personally use below and it’s a good all in one kit. Not only does this give me complete studio lighting, it also has a white, black or green screen backdrop as well as collapsible light reflectors for outdoor shots.

A complete yet cheap solution for creating your home production studio!

However, if you are out and about and want something more mobile and suited to handheld video, you want to avoid harsh lights and shadows when shooting. So therefore it’s best to get a large flat panel with a light diffuser on it. Even better, make it a panel with adjustable RGB colors. This can add an extra level of cinematic quality into your nighttime shooting.

The Lume Cube panel pro offers you complete app control over your portable lighting.

Finally cinematic sound. This one is a bit complex as there are many factors at play here. It all depends on if you want vocals in your footage or to have more ambient sounds in your footage instead. So the type of sounds you want to record will determine what type of microphones you should be investing in. For vocals, I’d recommend using something like the Rode Wireless Go 2. This is going to give you a whole lot of options regarding your sound recording, whether or not you want separate audio channels for 2 vocal tracks, a combined audio channel or even an independent backup of the audio recording. Rode also offer PC software for managing your microphone settings and recordings, they also have software to download if you want to use the same mics for doing your own podcast. So this is something you really should invest in.

A quality wireless audio setup for interview or field work.

For a more ambient audio scenario, I’d recommend using a shotgun or boom mic on a shock mount attached to the camera. This is going to give you a more cinematic quality by allowing you to record sounds coming from where you have the camera pointed. This is really about the ambient sound coming from a specific direction and can work out quite well. The only downside is that if you are trying to talk during your production and the mic is facing away from you, then it’s not going to record your voice very well. So again, for vocals, use a good wireless mic that you can attach to your shirt, but for ambiance or audio coming from in front of the camera, use a shotgun or boom mic.

Small but powerful professional audio…

However, what you should be doing in addition to these audio techniques is recording a baseline audio track to capture the ambiance independently. This way you can edit the audio later in post-production and boost or lower background noises depending on what’s happening in a scene. So having a separate external audio recorder is also a good idea. This may simply mean going to your shooting area ahead of time, recording 5 minute of audio and then looping that audio into your finished recording as a background audio source. The advantage to doing this is that if gives you the most control over your audio in post-production. So, if you’re vlogging and recording a vocal track by a waterfall or by an ocean, you can lower or raise the background that audio so that it doesn’t drown out vocals you’re recording. Whereas if you’re trying to record everything at once using in camera audio, you just don’t have that level of control over the audio levels and if your background starts drowning out your vocal track, there’s not going to be much you can do about that in post-production while trying to retain a listenable quality. So, this is where a good quality digital audio recorder is really going to help you out.

Get Professional Audio using this!

So those are my recommendations for recording cinematic video using specific accessories. These should help you level up your cinematic shooting game and help you get on the path to awesome footage.

So if you liked this post and want to find out more GoPro tips and tricks, then go visit my YouTube channel @DemonViewLLC. There’s lots of helpful video’s on my channel including tips, tricks, reviews and cinematic movies. Make sure you click those like and subscribe buttons as they really do help out with channel views and ensure the continuation of quality content for you.

Until next time, Cheerio!

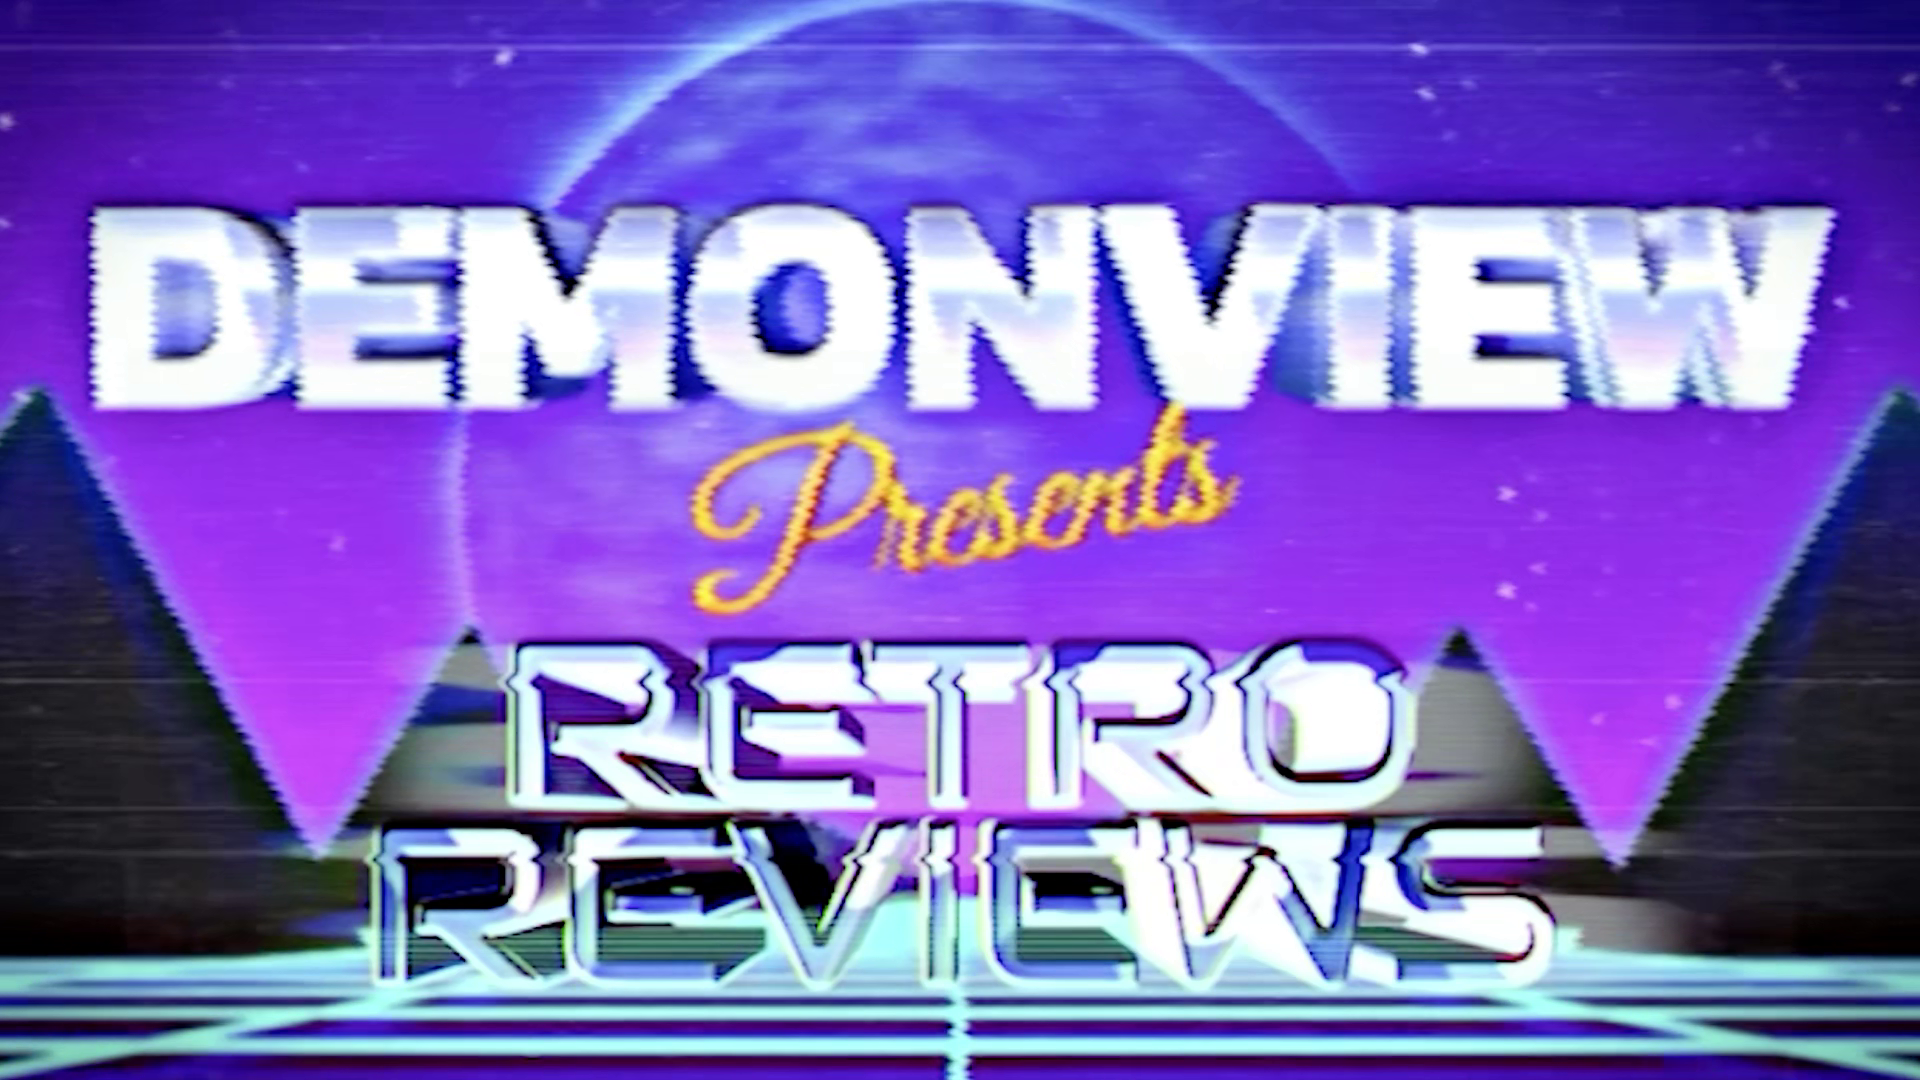
DemonView Presents Retro Reviews!

Yes a brand new segment where I’ll be reviewing the latest and greatest… well… actually some of the oldest and earliest hardware and software out there. Some of this stuff will be rare, some of it you may have owned yourself and some of it, didn’t even make it past the prototype stage (and I was lucky enough to get my hands on some of these pieces!). So I hope you like these segments and enjoy the educational trip down memory lane.

First this first review, we’ll be looking at the Creative Zen Vision

These days your phone does just about everything. You don’t just use it to take or make calls, you use it to listen to music, watch movies, record video, play games, take photo’s, track your fitness, shopping, book a holiday…. it seems the modern cell phone can do just about anything…

…. but that wasn’t always the case. In fact, there was a time when you needed a separate device to do everything. Make or take a phone call? Use a phone! Take photos? Use a camera! Book a holiday? Phone a travel agent… yes kids, I assure you that was a real profession back in ye good olde days. Listen to music? Break out the disc man…

I admit, modern day discmans look a lot better than they did in my day….

So when mpg, divx, mp3, wmv, wma, avi became popular, our devices started to evolve. Suddenly we had mp3 players, we had personal media players, we ditched cassettes and our disc mans for this new fangled technology…

So, back in October of 2005, a company called Creative Labs decided to produce their most advanced personal media player yet. The Creative Zen Vision……….. and 17 years later…. I’m here to review it!

Hi there, thanks for returning to DemonView. I just wanted to do something a bit different this time and make best use of my collection of electronics that I have lying about. So I decided to have a bit of fun and do some retro technology reviews. It’s a good way to learn about some of the technological breakthroughs that we experienced as we moved from painting on cave walls to painting on a tablet.

Some of what I’ll be reviewing was a major success, some were major failures, some are extremely rare and some never even made it past the prototype stage. So, I really hope you like these videos and if you do, don’t forget to visit my YouTube channel and click on those like and subscribe buttons as it really does help out with the channel.

So for my first retro tech review, we’re looking at the Creative Labs Zen Vision, and this is it.

Yes, it’s awesome, it still works, it’s the Creative Labs Zen Vision…. and there’s one on Ebay for $99 at the moment if your interested.

This was touted as being the ultimate personal media player at the time.. With the ability to play audio, video, listen to the radio, sync with your outlook…this device was sure to dominate the market…… only it didn’t.

When this was first released in October of 2005, it looked like a fantastic futuristic buy. It’s screen was far larger than most of the competition and with a resolution of 640×480 and boasting a display capable of playing back 262,000 colors, it was certainly well ahead of the competition.

Then there was the storage… 30GB of storage to be exact thanks to an impossibly tiny hard drive located inside the player. Yes, you heard me, not a solid state drive or a memory card, but an actual mini hard drive. It also offered expandable storage thanks to the Compact Flash card slot.

But wait, that’s not all. This player could support a whole slew of formats including MP3, DRM WMA, WAV, JPEG, AVI, DivX, MPEG and WMV. Had a video file that wasn’t compatible? No problem, Creative bundled some video conversion software with their device to you could watch it on your new personal media player.

However if you wanted to share your video with friends, what would you do if you didn’t want them all looking over your shoulder? Simple! Use the “video out” option to plug the player directly into your TV. I mean seriously, how cool is that?

Then there was the added bonus of being able to purchase an optional remote control for your player. This meant you could easily use it as a jukebox when at a party or control the playback of video from the luxury of your own couch!

So it really does seem like this device offered everything that you could possibly want in an mp3 player of the future! In fact, I purchased this exact model in about… 2006 and I pretty much used it all the way up until 2012 or 2013. In that time frame, it was basically the device I’d carry with me when I was traveling abroad on an airplane just in case the in flight movies weren’t anything to write home about. Heck, even when I was traveling by bus to my job, it was nice to have the option of watching a couple of 30 minute TV shows.

However, there were a few niggling little problems with the device that really held it back from dominating the market and ruling the world in my opinion.

1st of all was the price. At the time, this brand new was $400. Back in 2005, that was a hefty chunk of change. That would be rough and tough $608 in today’s money accounting for inflation. So this wasn’t something that the average person would be able to afford.

Then there was the display… it may have offered one of the highest resolutions at the time, but the viewing angle was terrible. Even looking at it head on and perfectly straight, didn’t seem to help much at all. Also it was 4:3… which meant that if you were watching a widescreen movie on this device, you’d get those black bars on the screen making the picture even smaller and harder to see. Now in all fairness, creative labs would remedy this problem by releasing an upgraded Zen Vision W (the W stood for “Wide Screen”). The problem is that they released it just one year later in 2006. In fact just a number of months after I had bought the Zen Vision… which means I couldn’t justify spending another $400 on another Zen Vision with a slightly wider screen. I’m guessing a lot of owners felt the same way.

Then, there was the video conversion software. In short, it just wasn’t very good at all. In fact the highest resolution it would output to was 320 x 240 in WMV. So not only did the video software only encode at half the resolution the device supported, it also used a compression codec that frankly just looked terrible.

Ok, this webcam shot doesn’t do the screen justice, but you get the idea of how it worked.

Finally there was the audio… Look, a lot of reviewers at the time thought the audio on this sounded fantastic… I wasn’t one of them. It really just didn’t have any power and the bass was just lacking. Even if you used the equalizer, you just couldn’t seem to get a decent sound out of the thing.

Battery life also wasn’t the greatest, especially if you were flying abroad on a long journey. Remember, back then, most planes didn’t have power outlets you could use. Luckily there was the option of buying an extended battery, however that was another $70.

Still, for all those bad points, you know, I still think this device was pretty awesome. I mean, even looking at it now, I still think it’s kind of cool looking. The fact that I bought this in 2006 and it’s still going strong? I mean, wow… Creative Labs really made some very reliable hardware. This thing has traveled the world at this stage and the only thing that ever happened was a slight bit of distortion on the LCD screen from when it was stored next to a 10lb frozen ground beef chub.

Creative Labs (United States) | Sound Blaster Sound Cards, Super X-Fi, Speakers and Soundbars, Webcams, Headphones and Gaming Headsets

(Since I’m reviewing their product, I’m throwing in a link to Creative Labs so you can see what they offer these days).

So was this the best personal media player in the world for it’s time?

Probably not.

Was it the cheapest?

Definitely not.

Do I regret buying it?

Absolutely not.

In fact looking at this now and knowing how well it’s stood up to the test of time. I can honestly say that I’m still the proud owner of this Creative Labs Zen Vision. It was an awesome buy at the time and it still has a well earned place in my heart. It wasn’t just about what the technology offered, it’s about what it meant to me and this little player that could (and apparently still can!) was my daily companion. It’s got a few years and a few miles on it but it’s still going strong.

So that was my quick retro tech review and I really hoped that you liked it. Remember to click those like and subscribe buttons to help out with the channel and to help bring you more original content.

In the meantime, if you owned or still own a Creative Labs Zen Vision. Drop a line in the comments below or drop me an email. I’d love to hear about your experiences with these players and if you still have yours squirreled away somewhere waiting to be turned back on.

Until next time, Cheerio!

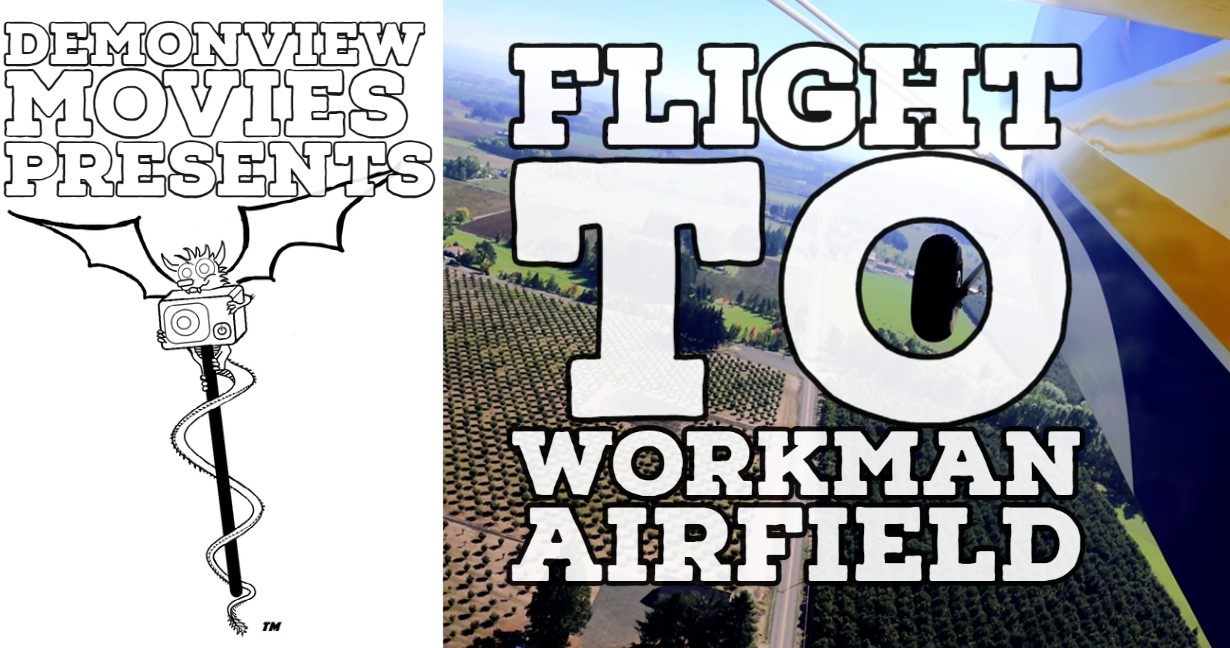
Flight to Workman AirField. New DemonView Movie!

Flight to workman airpark.
Brand New DemonView Movie!

Ever wonder what it’s like to fly into an airfield? Well, no doubt you’ve watched the flight to Evergreen Airpark, this is the follow up where we flew to Workman Airfield OR41. So, in this movie, MerryMunks, Natasha Stenbock and I flew out to Workman Airpark in a Maule M5 180C. Weather wise it was a pretty nice day, warm temps but a bit of smog in the air from all the brush fires which were legal for that time of the year. Lots of things to see from the air in this flight and the Maule handled the flight with ease (thanks to the great pilot of course). It’s always a pleasure to the skies of Oregon and see such amazing sights. However, working in the back of the plane is sometimes a fulltime job. If you see me with my head down, it’s usually because I’m working the cameras or looking up information about our destination that the pilot and co-pilot need to know. So really hope that you enjoy the Flight to Workman Airpark video.