
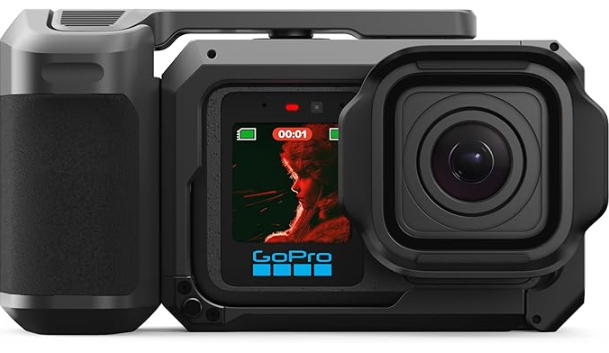
We’ve already established that the GoPro Mission 1 is one of the very best action cameras on the market, from its stunning slow-motion capabilities to its impressive low-light performance. With GoPro’s latest firmware release, you now have even more options available for your camera—and one of those is the ability to use your Mission 1 as a 4K 60FPS webcam!
So, let’s take a look at how to set up your GoPro Mission 1 as a webcam and what you’ll need to get started.
No GoPro Webcam App Needed!
With previous GoPros, you had to download the GoPro Webcam App to use your camera as a webcam. This supported cameras from the HERO8 through HERO13 and allowed compatible GoPros to function as webcams over a USB connection.
The software originally arrived during the COVID-19 lockdowns. People were scrambling to work from home and, as a result, there wasn’t just a toilet paper shortage—there was a webcam shortage too.
GoPro figured out a way to turn its action cameras into webcams to help fill that gap, although there were some caveats.
Using your GoPro this way meant you had very limited camera controls available, with essentially the camera’s field of view (FOV) being your main adjustment, and video output was limited to 1080p.
GoPro has taken a different approach with the Mission 1 series.
With the latest firmware update, you can use a USB-C to HDMI cable connected directly to the camera to provide a video output of up to 4K at 60FPS. Connect that HDMI output to a compatible capture card, and you’ve got yourself one seriously capable webcam.
What You Need to Use the Mission 1 as a Webcam
Besides a desktop computer or laptop—because, after all, you are trying to use this as a webcam—you only need a couple of pieces of hardware.
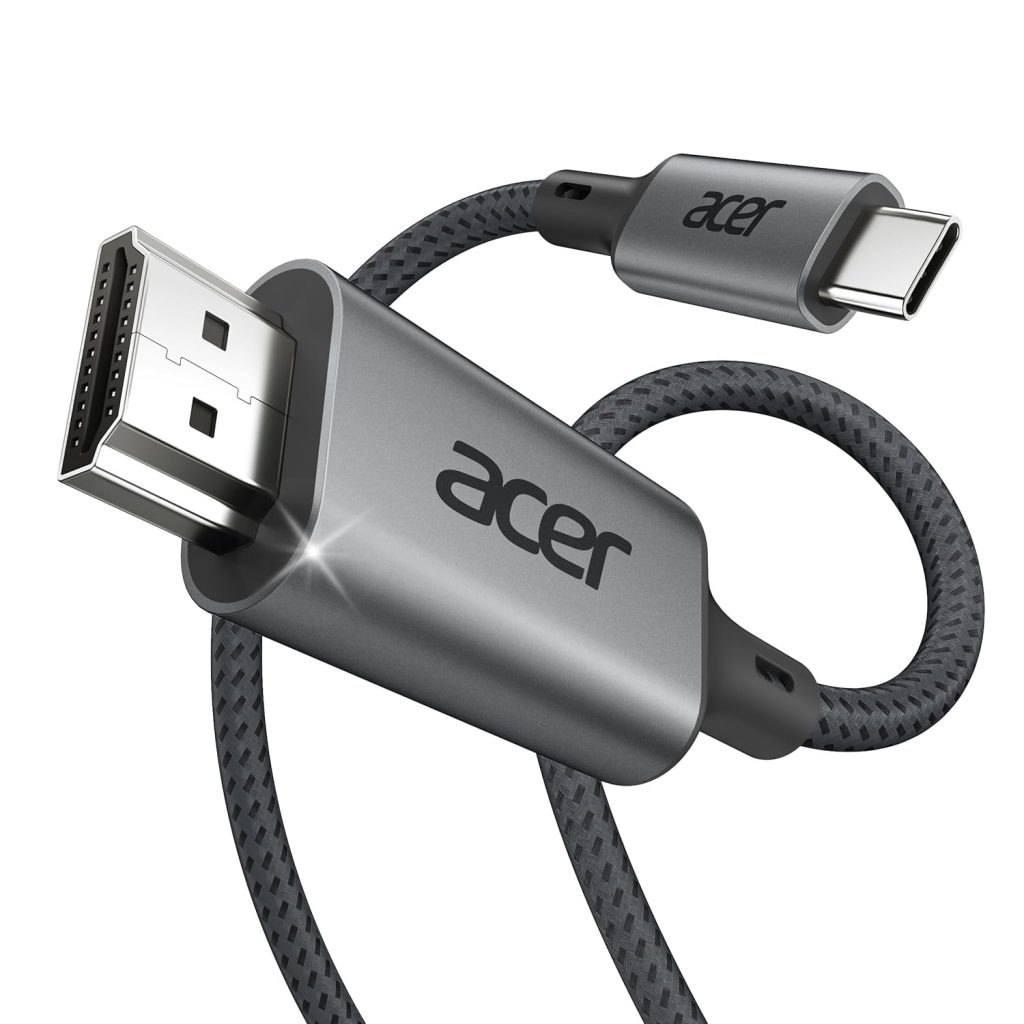
1. USB-C to HDMI Cable
You’ll need a USB-C to HDMI cable to take the video output from your Mission 1 and send it to your capture device.
I’m linking one of the cables I’m using below:
2. 4K USB Capture Card
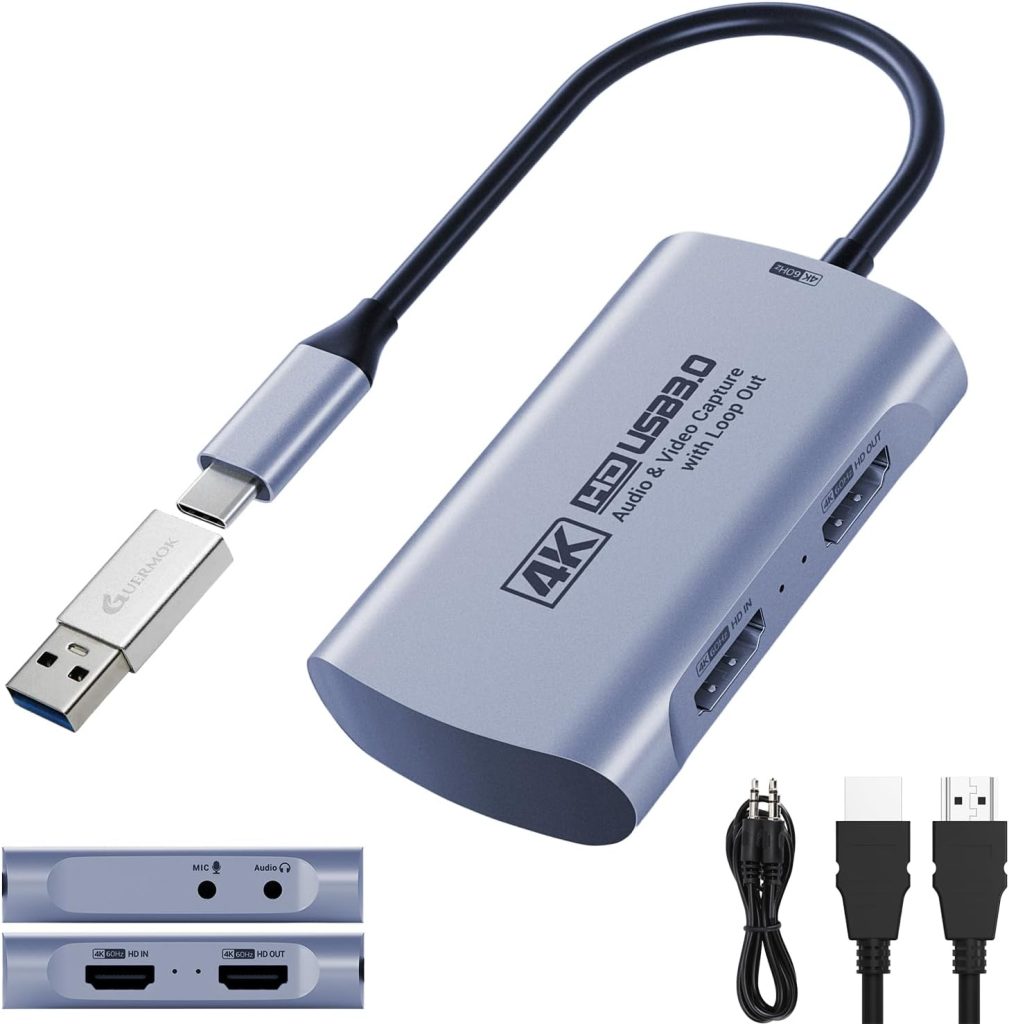
Next, you’ll need a 4K HDMI-to-USB capture card.
There are plenty of options available. You can spend less than $20 or nearly $300—or considerably more if you really want to.
It all depends on the performance and features you need, but for most people, there’s little advantage in spending hundreds of dollars on a capture card unless you’re working in a professional production environment or need specific high-end features.
Here are two options at different price points:
4K USB Capture Dongle — around $40
Elgato 4K USB Capture Card — around $90
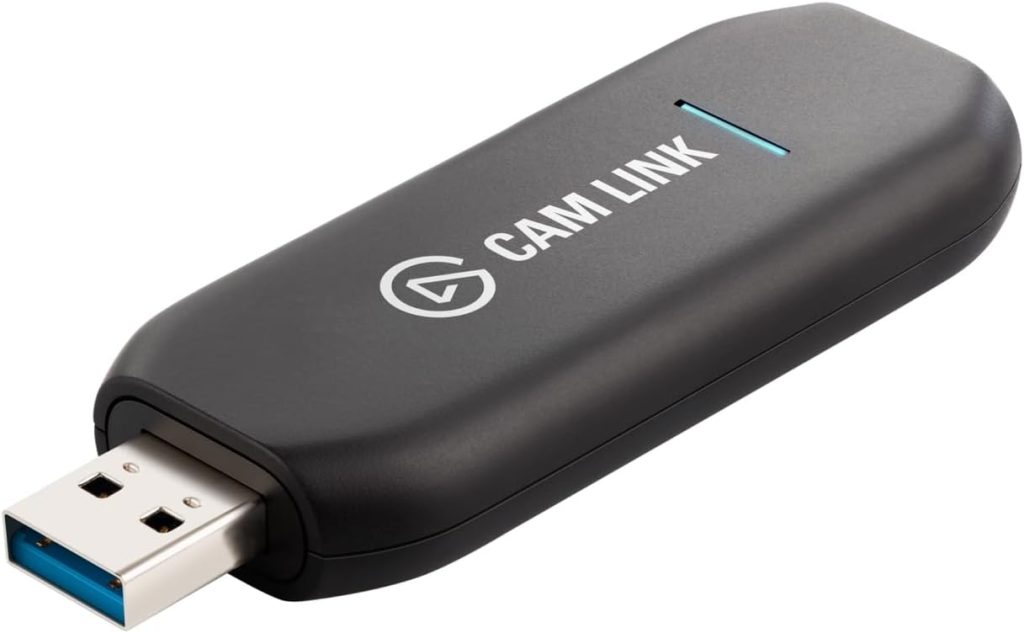
And that’s pretty much it!
With the more expensive capture card, you’re paying for the Elgato brand name, build quality, software ecosystem and support. Whether that translates into a noticeable real-world improvement for your particular setup is another question.
What Software Do You Need?
Some capture software certainly helps.
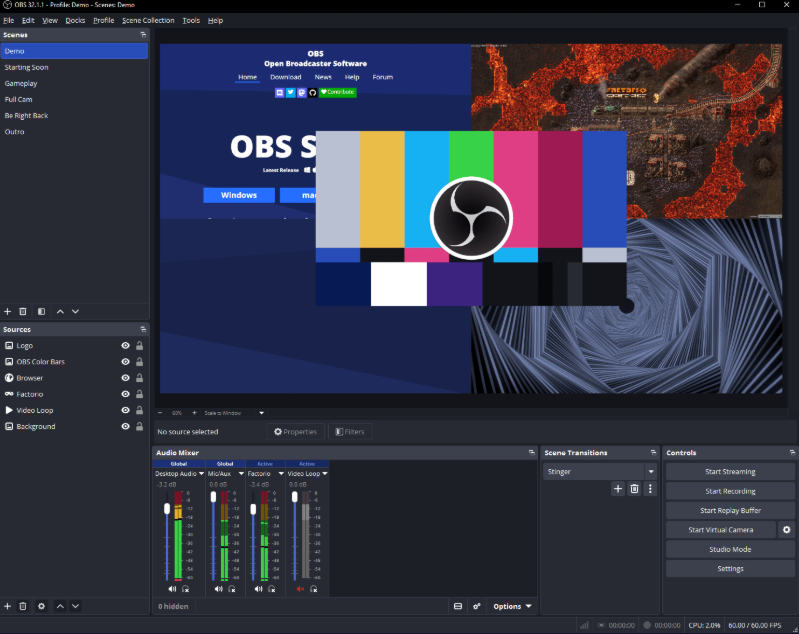
Some HDMI capture devices may come with their own software, but one of the best options available is still completely free and open source: OBS Studio.
OBS Studio is widely used for video recording, live streaming and working with capture devices, making it an excellent choice for your Mission 1 webcam setup.
Open Broadcaster Software | OBS Studio
How to Set Up Your GoPro Mission 1 as a Webcam
Setup is incredibly simple:
- Make sure your GoPro Mission 1 is running the latest firmware.
- Plug the USB-C to HDMI cable into the camera.
- Connect the HDMI end of the cable to your HDMI capture card.
- Plug the capture card into a USB port on your PC.
- Install and open OBS Studio.
- Add your USB capture card as a Video Capture Device source in OBS Studio.
- That’s it! You’re now ready to use your Mission 1 as a 4K 60FPS webcam, provided your capture hardware supports 4K 60FPS input and capture.
Final Thoughts
For me, this is a much better way to use the Mission 1 as a webcam, and I’m glad GoPro didn’t simply rely on the old GoPro Webcam App as its solution.
That software was created to solve a very specific problem during the COVID-19 webcam shortage. While it worked, it came with significant limitations, particularly the 1080p resolution and limited camera controls.
Allowing the Mission 1 to output video over USB-C to HDMI is a much more flexible solution because it gives you access to the camera’s settings.
You can adjust white balance, shutter speed, ISO, color profile and more, giving you considerably more control over the final image.
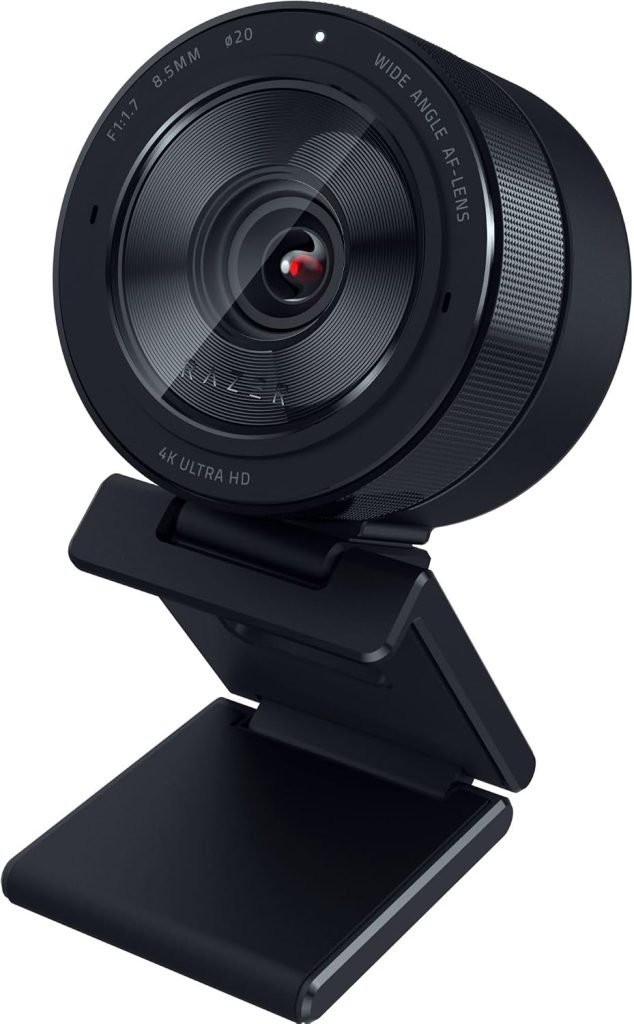
Even if you’re limited to a maximum of 4K 60FPS, that’s hardly a limitation for webcam use. It’s right up there with what some dedicated premium webcams offer, including my own Razer Kiyo Pro Ultra, which is an absolute beast of a webcam.
The Mission 1 series camera has proven to be one of the greatest action cameras to hit the market, beating it’s competitors in frame rates, low light performance and extra features. Now it’s just beaten it’s way to the top of the webcam market too!
This article contains affiliate links. If you purchase through one of these links, DemonView may earn a commission at no additional cost to you. Running DemonView websites and YouTube do however cost me money and unfortunately, without being a bazzilionaire (which is a totally real word I just made up) I do have to try and come up with some ways to earn back money. So affiliate links is one of them. It’s either that or start selling Feet Pics online and honestly, I’d probably need to pay for a pedicure first which puts me all the way back to affiliate links. So you can see how all of this is totally relevant and linked together like a big mystery. Anyway, hope you enjoy your day and find these notes to be fun while being dead serious (well the affiliate links part, not the feet pics part, that’s just weird man…).
 English